How to Get a Korean SIM Card or eSIM at Incheon Airport
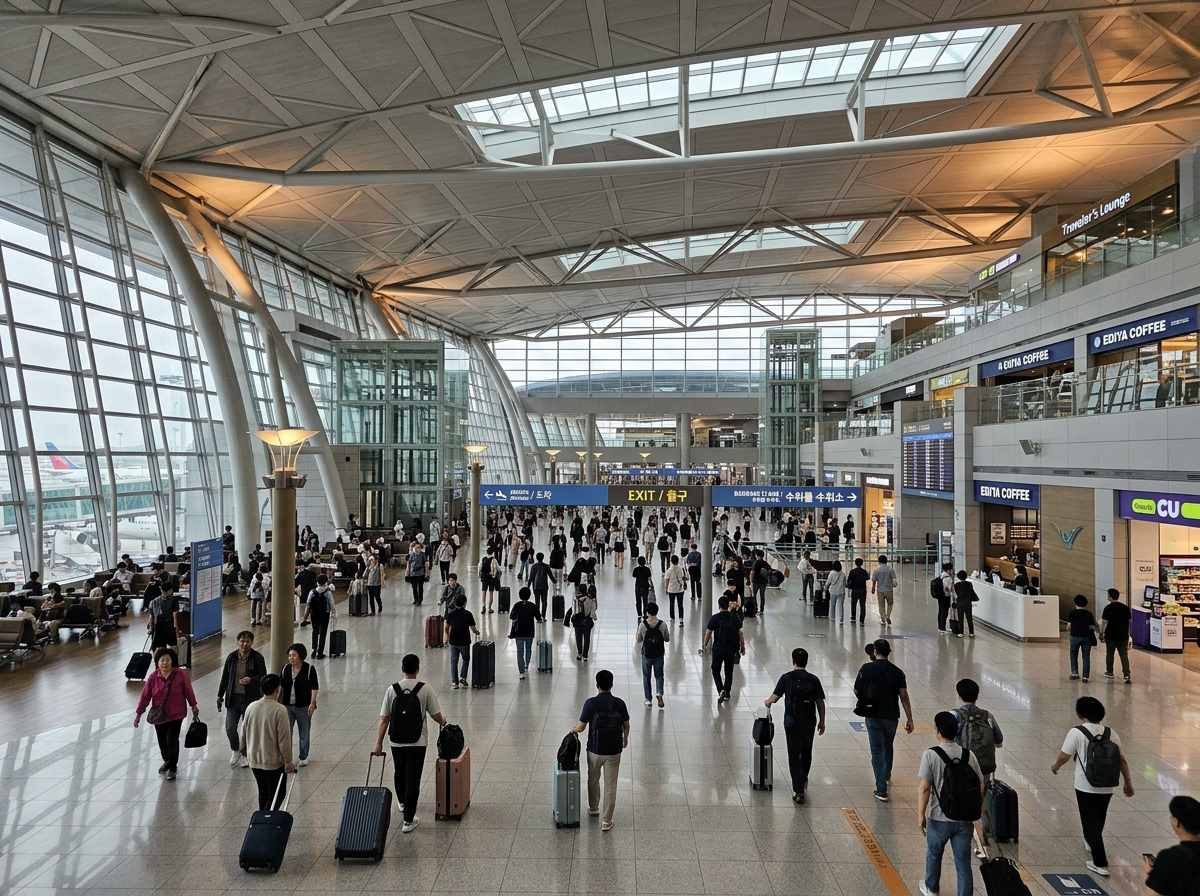
Landing in Korea without mobile data means no maps, no translation apps, and no way to message your Airbnb host. The good news? Getting a Korean SIM card or eSIM at Incheon Airport is quick, straightforward, and gets you online within minutes of clearing customs. Here’s exactly how to do it.
Where to Find SIM Card Counters at Incheon Airport
After you collect your luggage and pass through customs, you’ll enter the arrivals hall. Look for the telecom kiosks clustered near the exit gates in Terminal 1 (Gate 6-7 area) and Terminal 2 (Gates 4-5 area).
You’ll spot several competing brands: KT, SK Telecom, and LG U+ are the three major carriers. All have staffed counters open from early morning until the last flight arrives, typically 6 AM to 10 PM or later.
Third-party resellers like Klook and Trazy also operate pickup counters nearby, though you’ll need to pre-order online before arrival. More on that option below.
Physical SIM vs. eSIM: Which Should You Choose?
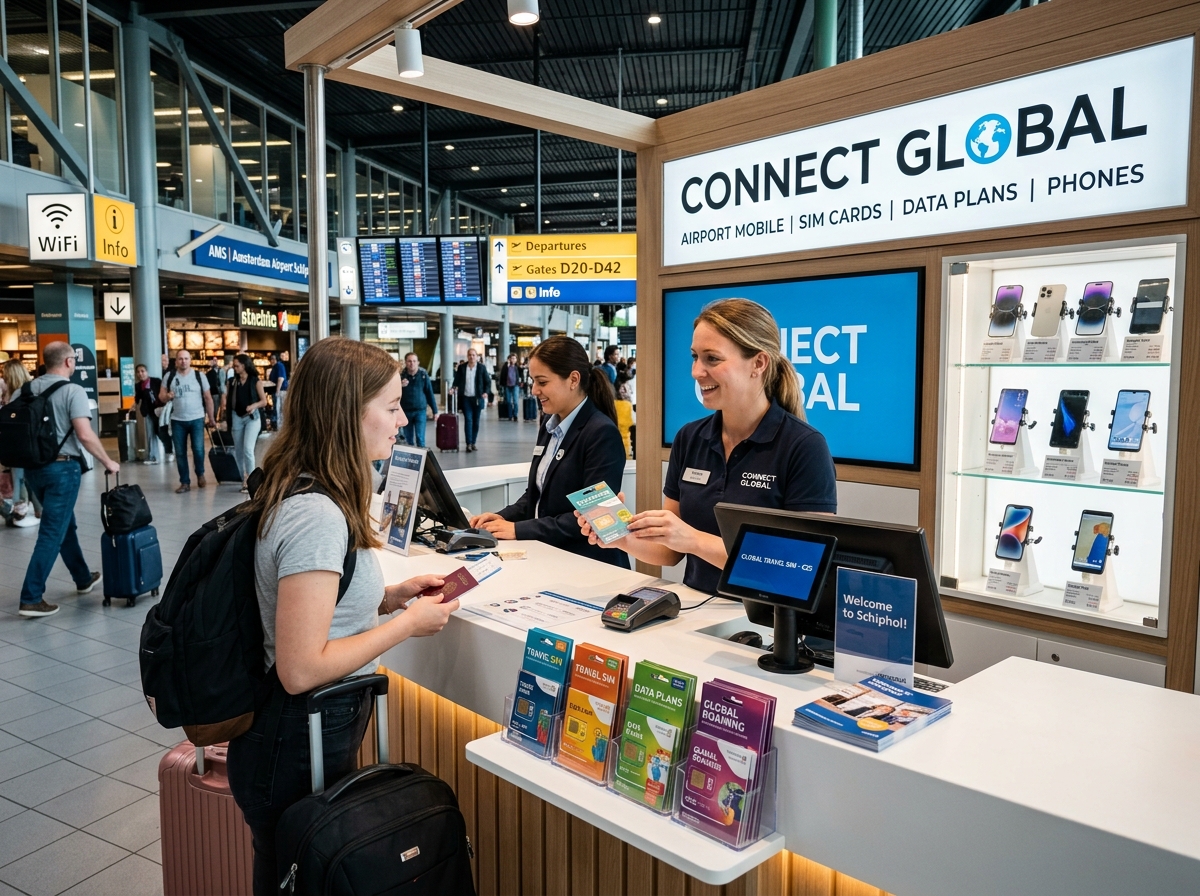
Physical SIM cards work in any unlocked phone with a SIM slot. You swap out your home country SIM (keep it safe for when you return), pop in the Korean one, and you’re set. The downside? You’ll lose access to your home number unless you forward calls or use apps like WhatsApp.
eSIMs are digital SIM profiles you download and activate on compatible phones (iPhone XS and newer, Google Pixel 3+, Samsung Galaxy S20+, and many recent models). You keep your home SIM active for calls and texts while using the Korean eSIM for data. Check your phone’s compatibility in Settings → Cellular/Mobile → Add eSIM before you travel.
Most travelers flying into Incheon still opt for physical SIMs because they’re universally compatible and staff can help with setup. eSIMs are ideal if you need to keep your home number reachable or don’t want to fumble with a SIM ejector tool.
Prices and Data Plans at the Airport
Airport SIM pricing runs slightly higher than online pre-orders, but the convenience and immediate support often justify the premium. Here’s what to expect:
| Duration | Data Allowance | Typical Price | Best For |
|---|---|---|---|
| 5 days | Unlimited (throttled after 1-3GB/day) | ₩20,000-₩25,000 | Short trips, light use |
| 10 days | Unlimited (throttled after 3-5GB/day) | ₩30,000-₩40,000 | Week-long vacations |
| 30 days | Unlimited (throttled after 5-10GB/day) | ₩55,000-₩70,000 | Month-long stays |
“Unlimited” plans typically include high-speed 5G/LTE data up to a daily cap, after which speeds drop to 1-3 Mbps—still fine for maps and messaging, but slow for video streaming.
💡 Tip: If you’re traveling as a couple or group, consider getting one hotspot device instead of multiple SIMs. Rentals start around ₩30,000 for 10 days and can connect 5-10 devices.
All three major carriers offer near-identical coverage across Seoul, Busan, Jeju, and other tourist areas. SK Telecom traditionally has the strongest nationwide reach, including rural areas and mountain hiking trails, but for city-based travel the differences are negligible.
Step-by-Step: Buying a SIM at the Airport
-
Head to the arrivals hall kiosks immediately after customs—lines build up during peak landing times (8-10 AM, 5-7 PM).
-
Tell the staff your trip length and data needs. They’ll recommend a plan. Most speak conversational English.
-
Provide your passport. Korean telecom regulations require ID registration for all SIM purchases.
-
Pay by card or cash. Most counters accept Visa/Mastercard and Korean won. Some accept USD, EUR, or JPY but at poor exchange rates.
-
Staff will install and activate the SIM (or help set up your eSIM via QR code), test the connection, and explain how to top up if needed. The entire process takes 5-10 minutes.
Your Korean number will be displayed on the packaging. Save it in your Notes app—you’ll need it for restaurant reservations, delivery apps, and any verification texts.
Pre-Ordering Online vs. Buying at the Airport
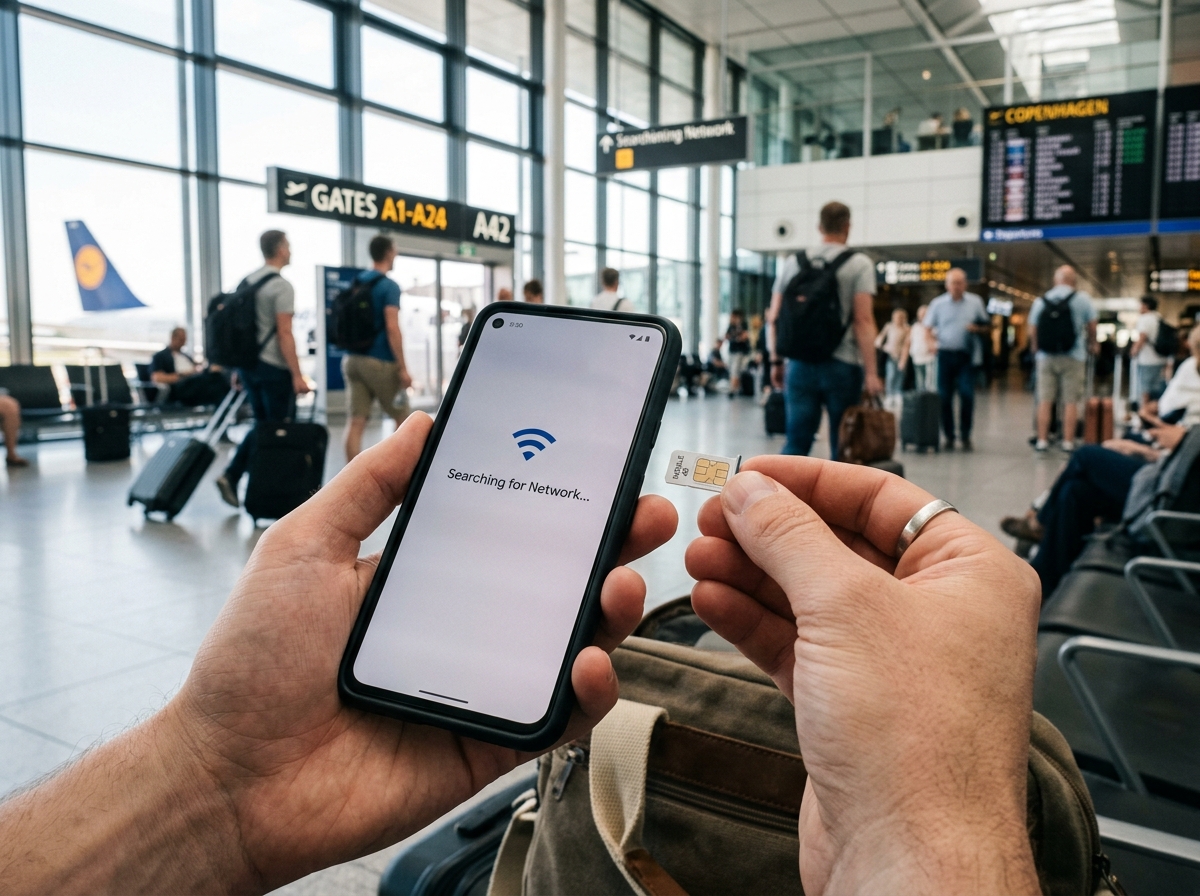
Pre-ordering through Klook, Trazy, or KKday costs 10-30% less than walk-up airport prices. You book online, receive a voucher, and pick up your SIM at a designated counter in the arrivals hall.
Advantages: Lower price, guaranteed availability during peak travel seasons (Lunar New Year, summer, cherry blossom weeks).
Disadvantages: One more thing to remember to book before departure, and pickup counters sometimes have longer queues than carrier kiosks. If your flight is severely delayed or you miss pickup hours, you’re stuck.
For first-time Korea travelers, we recommend the walk-up airport purchase despite the small premium. The flexibility and on-the-spot troubleshooting are worth it.
If You’re Landing at Gimpo, Busan, or Jeju
Gimpo Airport (Seoul’s domestic hub, but serves some international flights) has SK Telecom and KT counters in the international arrivals area, though hours and plan variety are more limited than Incheon.
Busan’s Gimhae Airport and Jeju Airport also have carrier kiosks, but with shorter operating hours and occasionally limited English support. If you’re landing at these smaller airports, pre-ordering online for pickup is often smoother.
Alternatively, buy your SIM at Incheon even if you’re connecting domestically—you’ll have more options and better English-language service.
Quick Troubleshooting Tips
-
No signal after installation? Toggle Airplane Mode on and off, or restart your phone. Data roaming must be enabled in your phone settings for the Korean SIM to work.
-
Can’t access certain apps? Some banking or work VPNs block foreign IP addresses. Expect this limitation—it’s not a SIM issue.
-
Running out of data early? You can top up at any convenience store (GS25, CU, 7-Eleven) using prepaid cards, or visit a carrier retail store in the city. Staff at airport counters will explain how.
-
eSIM not activating? Make sure your phone is connected to airport WiFi when scanning the QR code. The initial download requires internet.
The Bottom Line
Getting a Korean SIM or eSIM at Incheon Airport takes less than ten minutes and costs roughly ₩30,000-₩40,000 for a typical week-long trip. Walk straight to the kiosks after customs, bring your passport, and you’ll be navigating Seoul’s subway and finding the best tteokbokki stalls within minutes of landing.
The peace of mind of having instant connectivity—plus the ability to call local numbers for reservations or emergencies—makes this one of the smartest ₩30,000 you’ll spend in Korea.